Make it yourself if the car does not have it.
The Nissan Versa 2009 I bought does not have an outdoor temperature sensor and the radio did not allow to connect the phone to it. That was both somewhat annoying as I usually like to get a sense on what the current temperature is. It is also nice to be able to hook up the phone to the stereo. So I decided to change the radio and add the temperature sensors myself.
That is the final result:
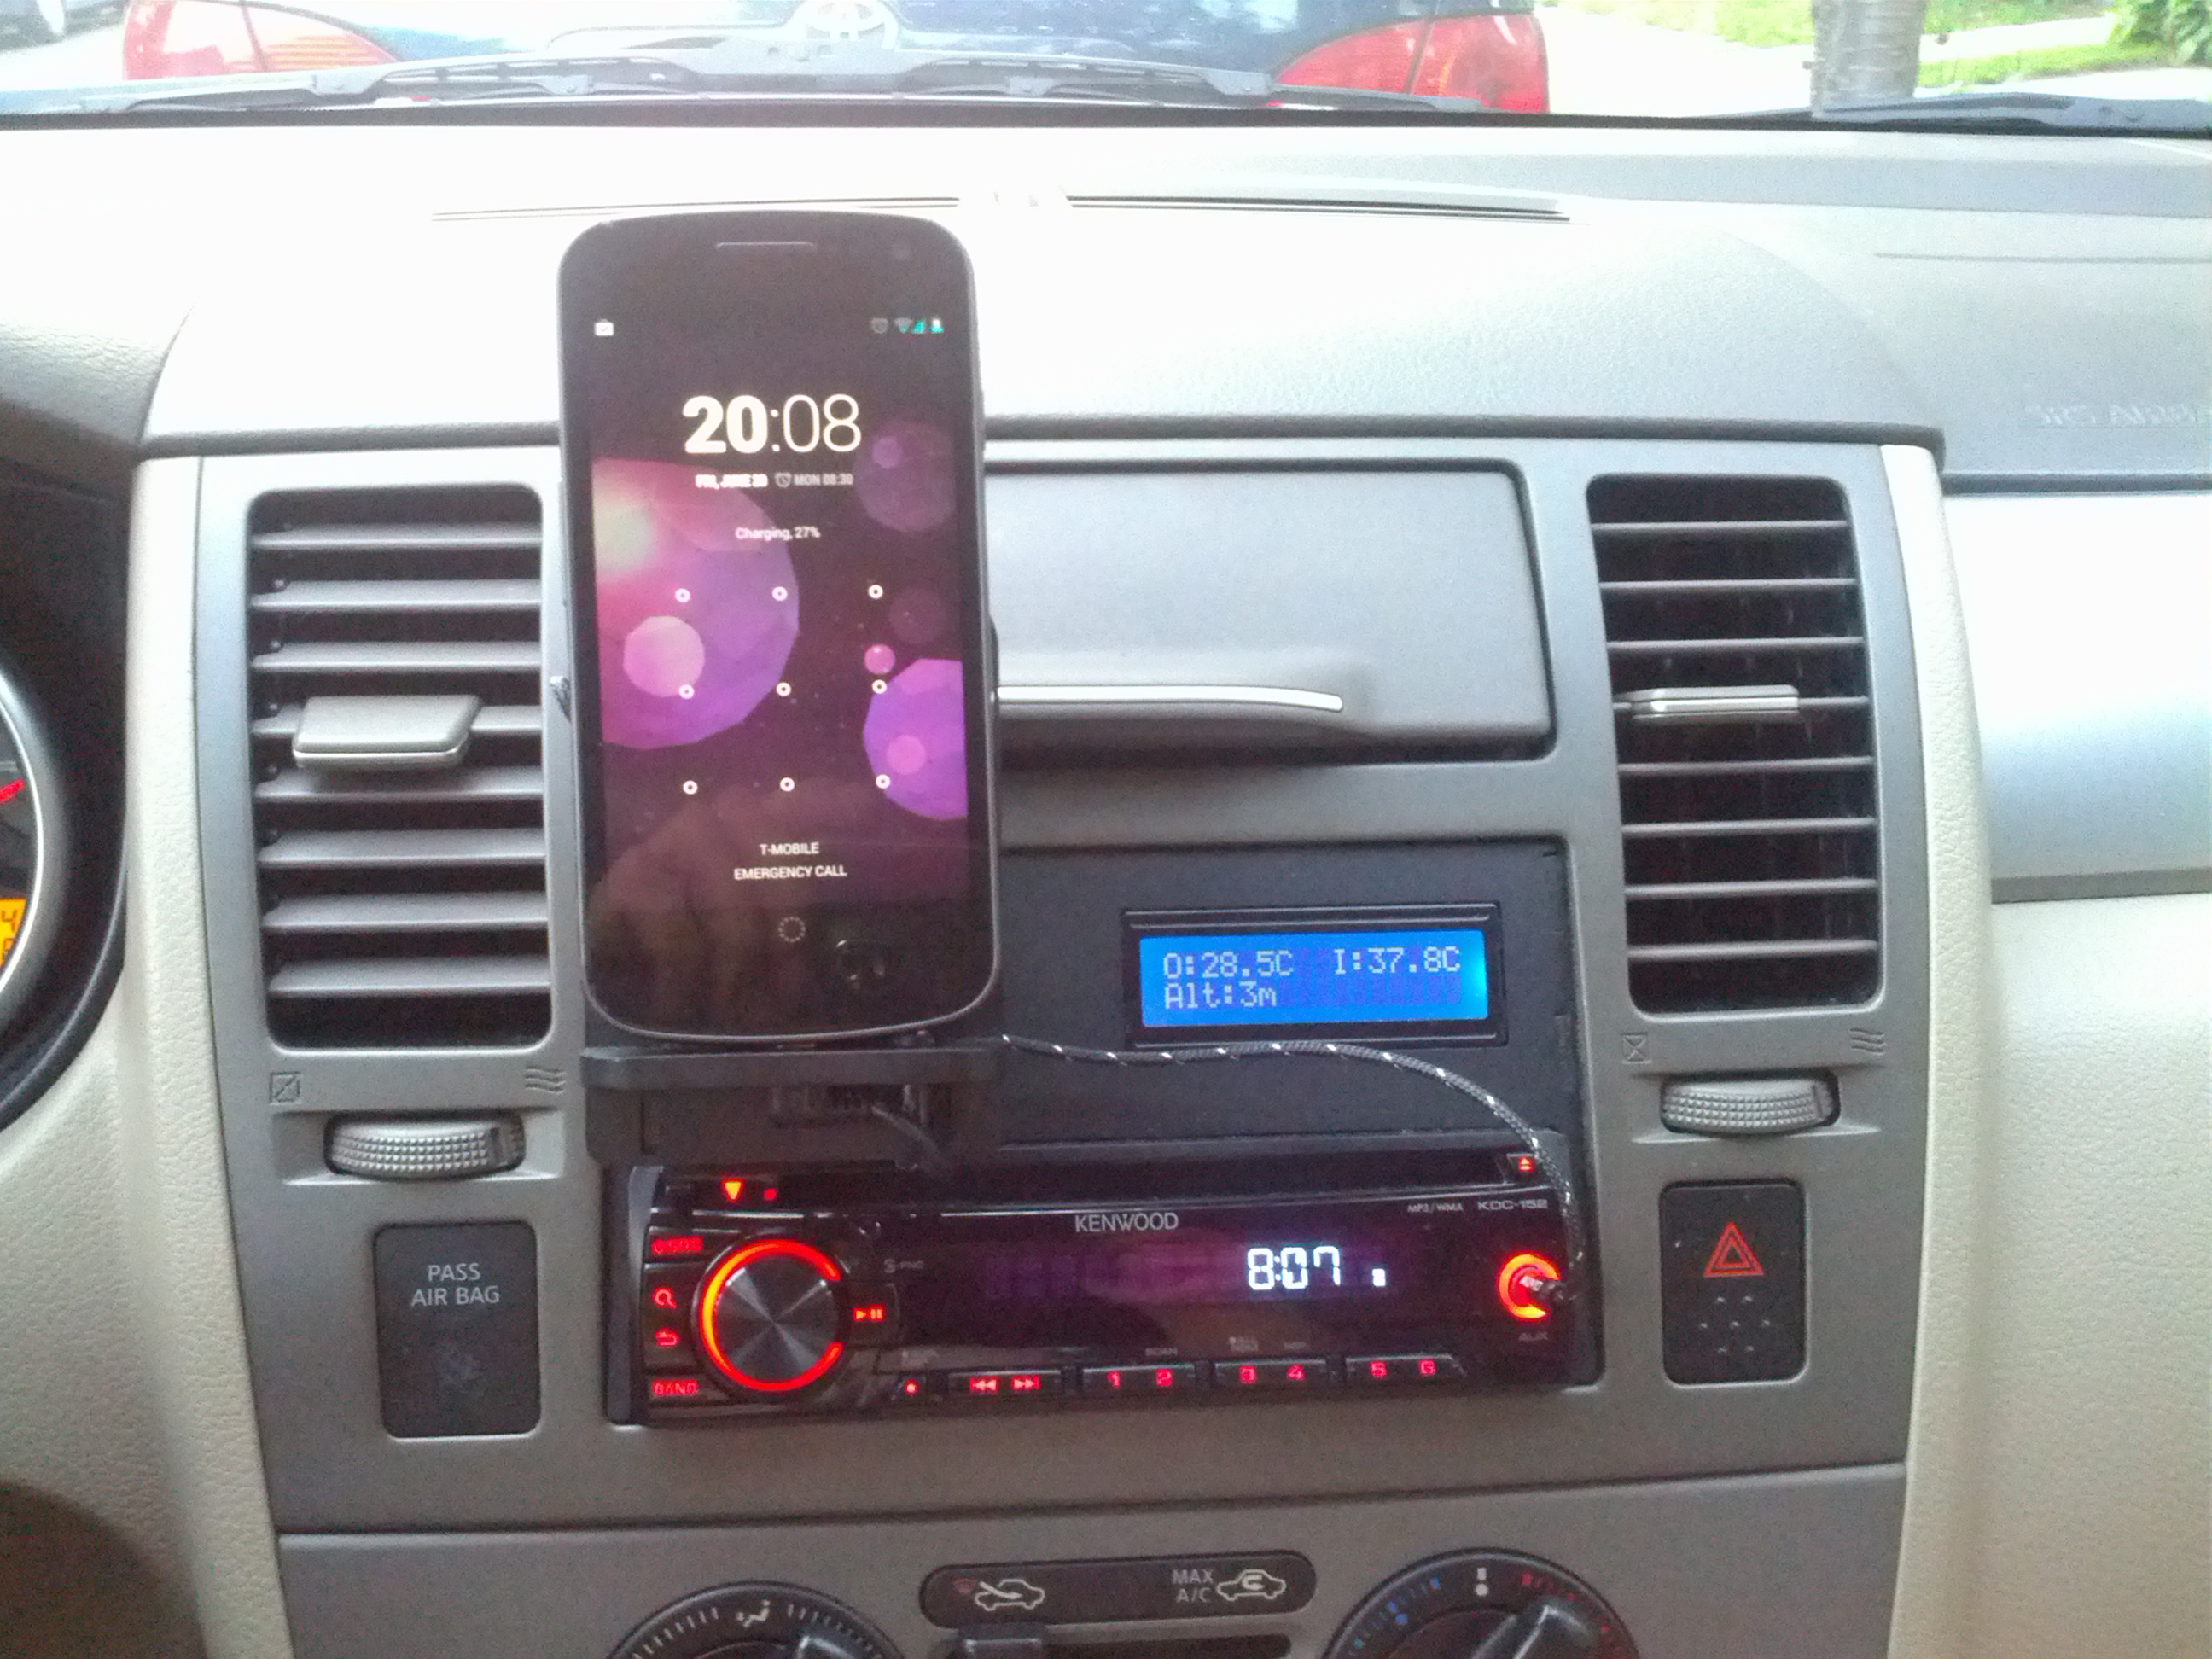
The basics
The Nissan Versa 09 I bought has a double din radio deck. That basically means that the height of the radio is twice the standard size. That was actually convenient for my project as it allowed me to remove the big radio and use a single din radio instead. This gave me enough room to add all the electronics and a phone holder.
That is how the radio looked before the modification:
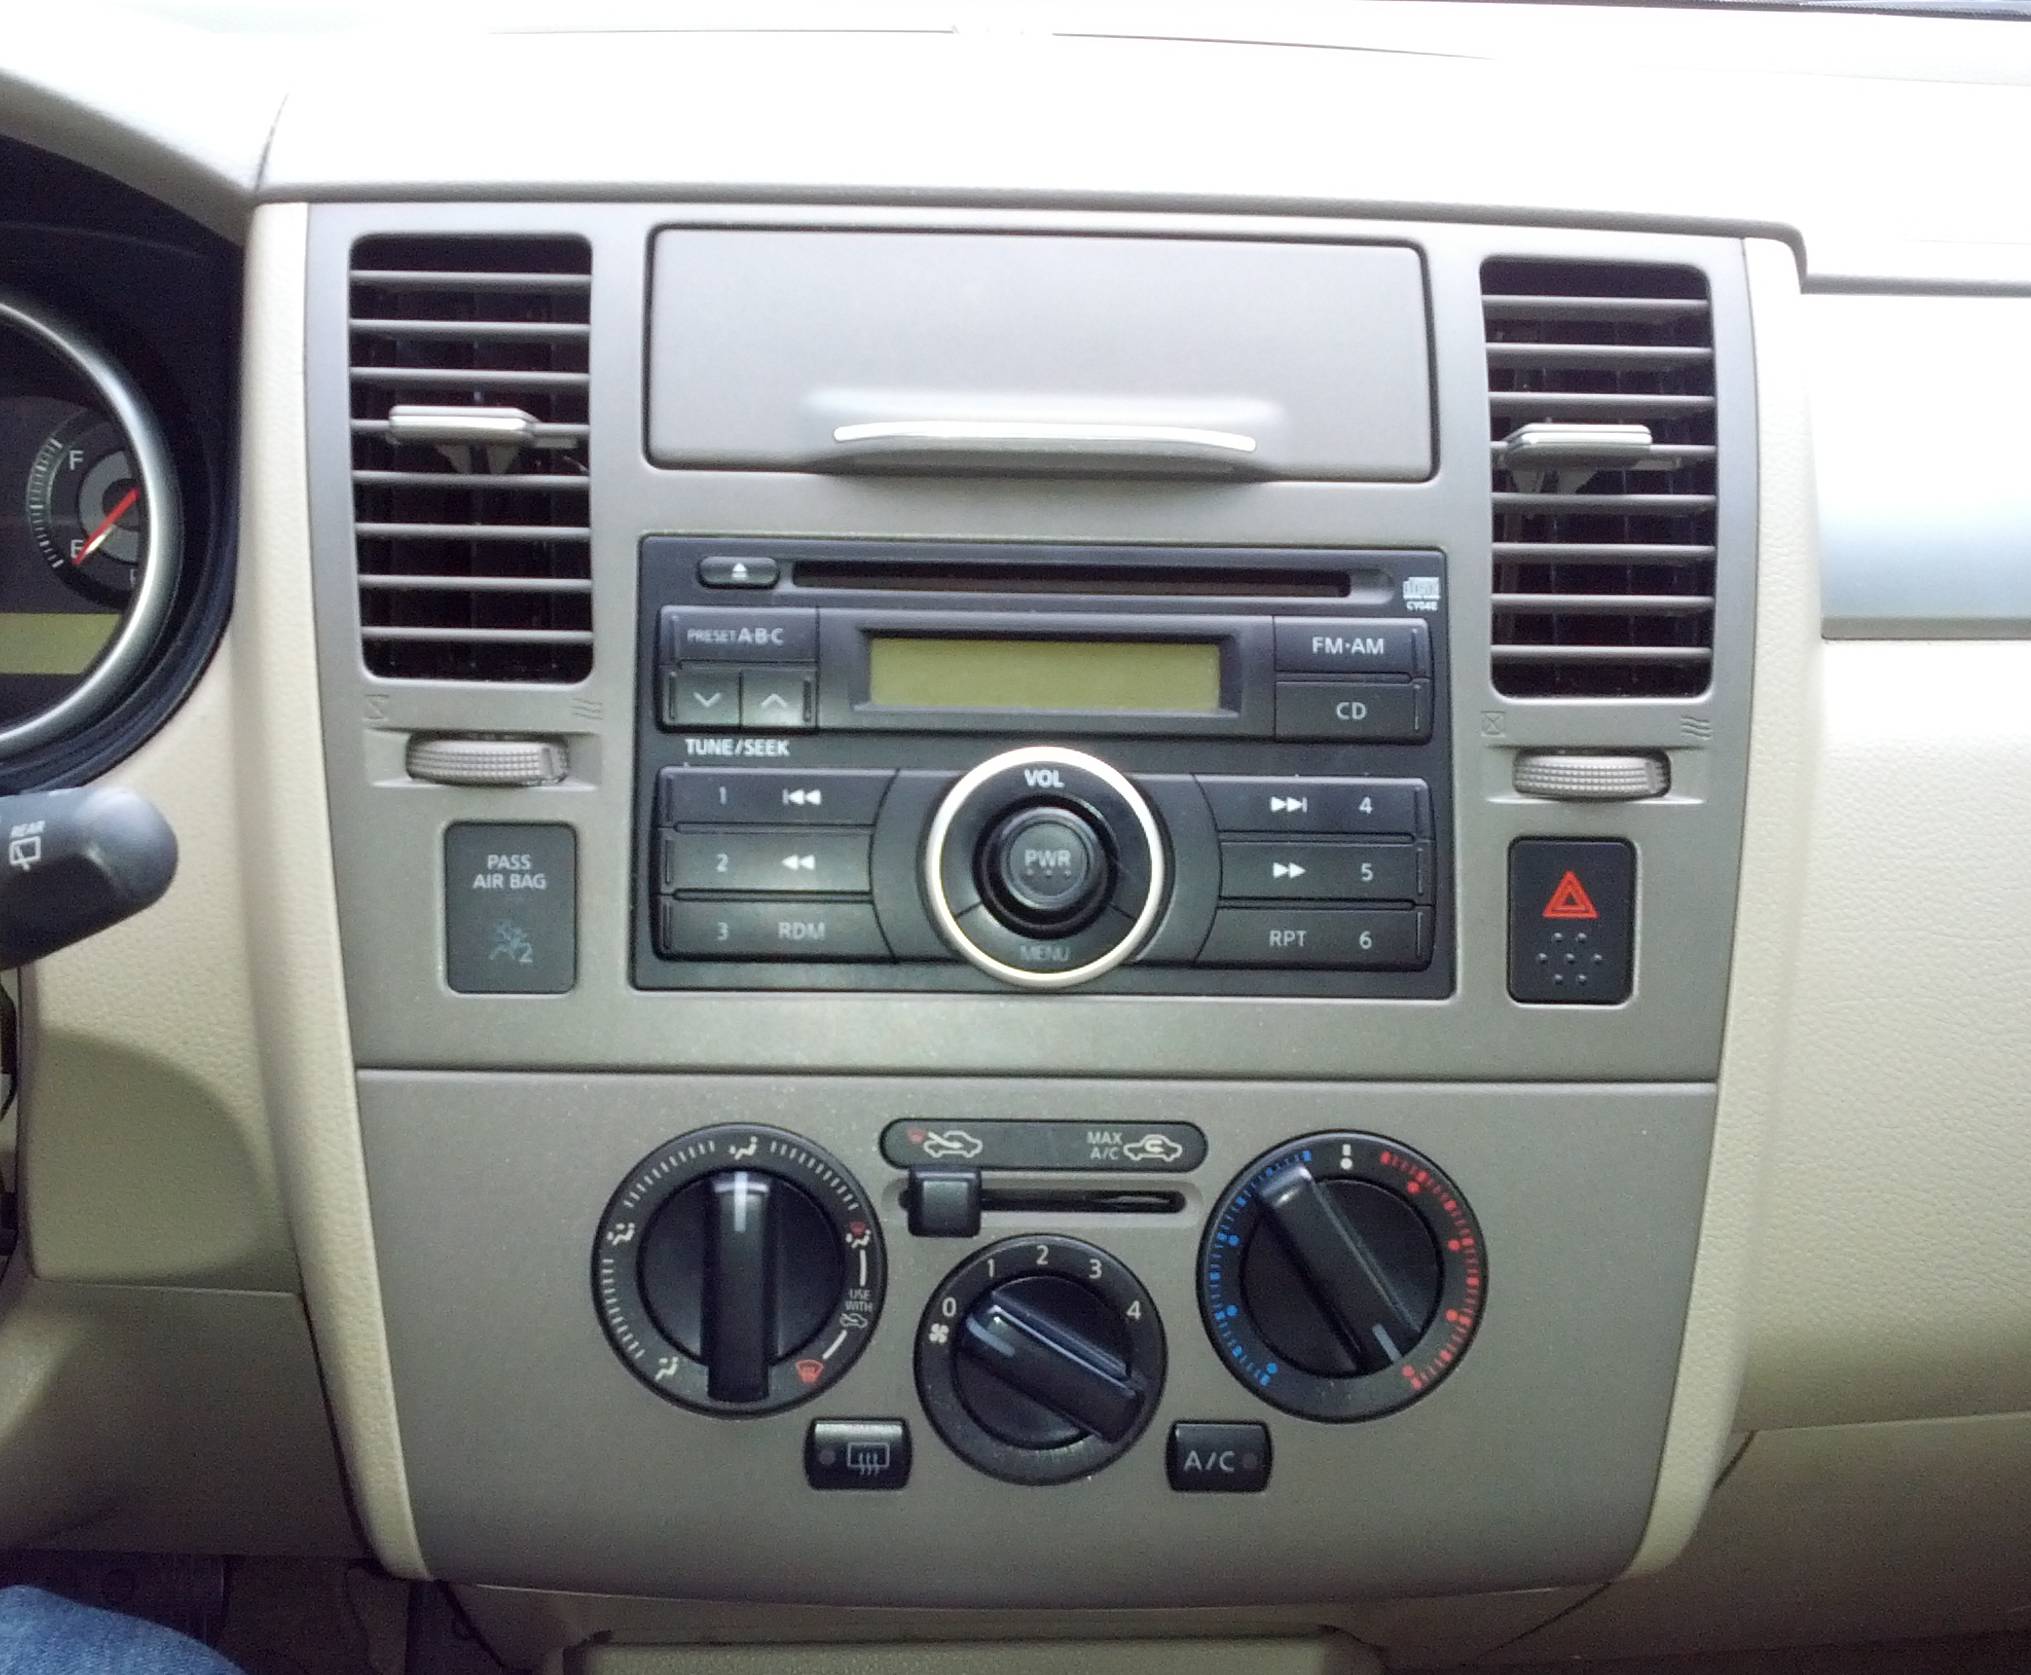

The radio holders you can see on the second pic allow to attach also a single din radio, thus making room for other electronics. I temporary installed the new radio to measure all the gaps to position the cover correctly.
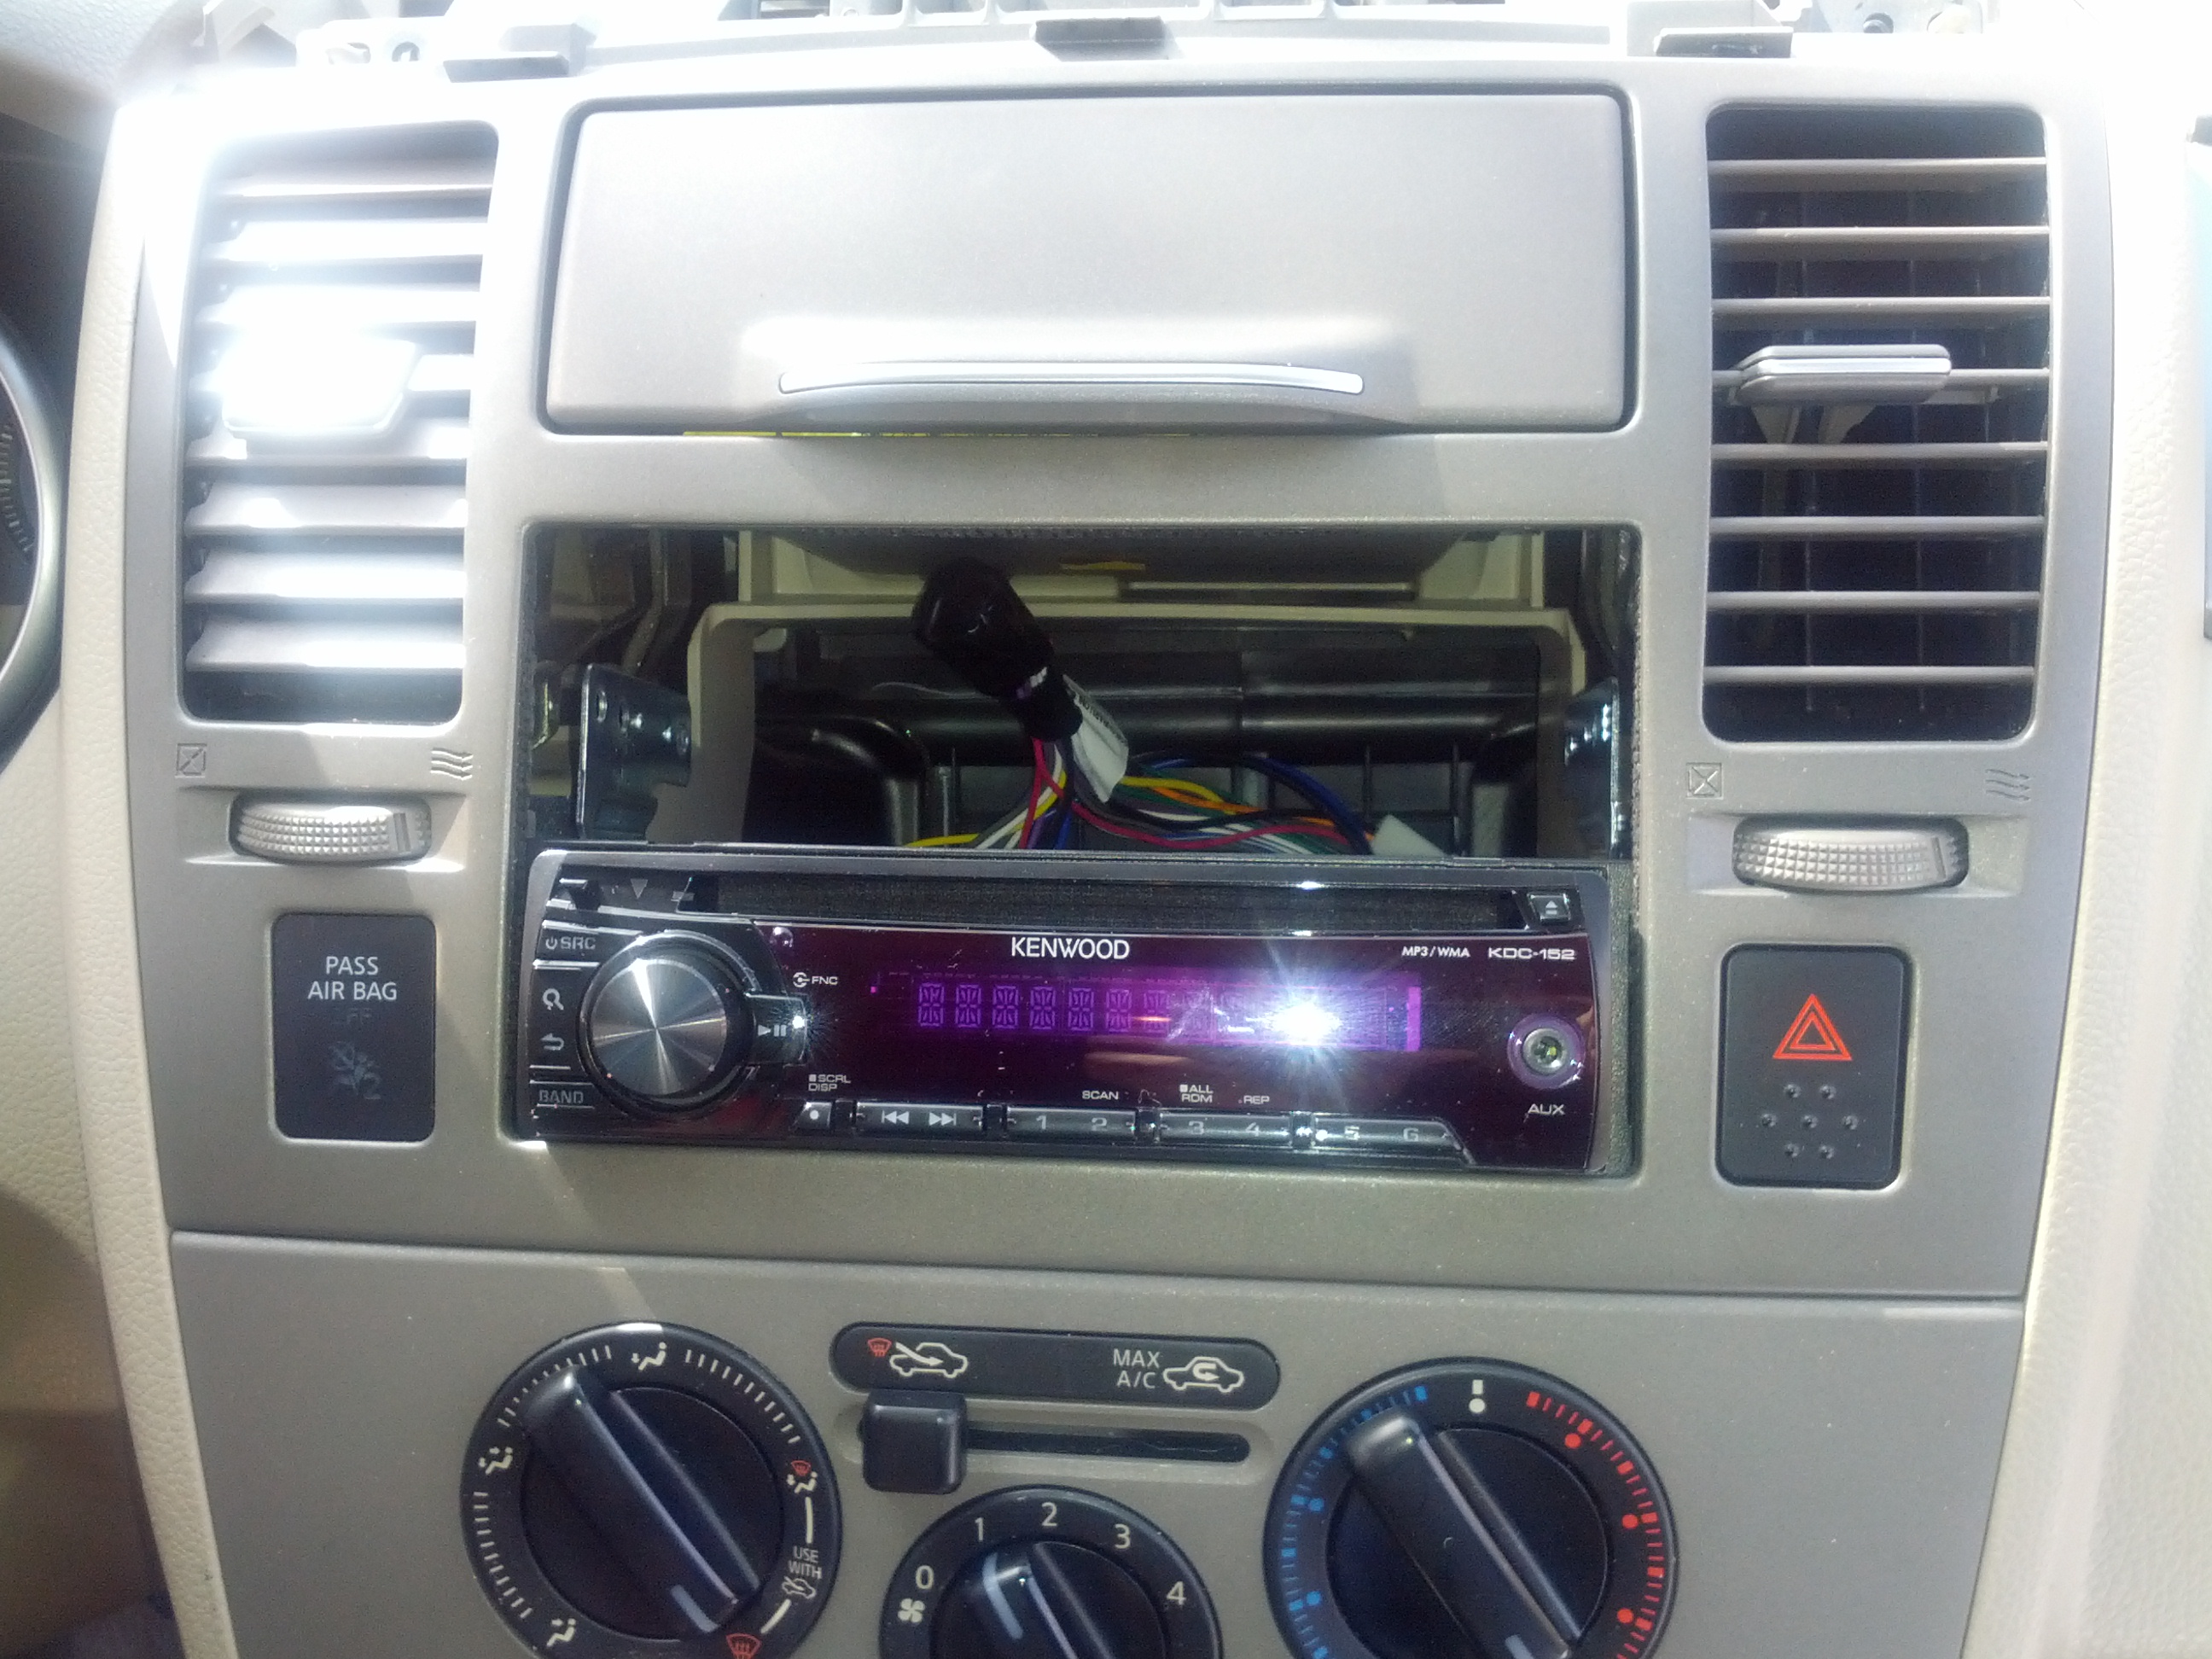
Luckily I had access to a laser cutter, thus building the cover and the holder for the mobile phone was quite easy. I cut it out of acrylic and glued the parts together and painted it black. The cover has rails on the side where I can attach the unit as if it were a radio, thus making installation easy.
The electronics
I used an Arduino, which connects a DS18B20 temperature sensor on a wire, a bmp180 and the display. I use wire based temperature sensor, as I did not want to bother with changing batteries. For the indoor temperature sensor I used a pressure sensor, as this sensor gives both altitude and temperature. With that I could add one more interesting value to display. After initial testing with a regular Arduino, I bootloaded the code onto a standalone chip, as described here. To reduce the voltage from 12V, I used an adjustable step down converter I bought for cheap somewhere. I regulated the voltage down to ~3.6V, so that I did not need any logic converters for the BMP180 (that cannot run on 5V). All the other components can run on the lower voltage as well.
As I also wanted to have a socket for my cell phone, I used an USB plug for the car, which I also wired to the voltage source from the radio. I placed it behind the hole in the cover, allowing you to plug and unplug the usb cable, if needed. The nice thing about my phone is that both the usb and the aux connector are at the bottom, so I can mount them both on the holder and just have to slide the phone in to connect.
The final unit looks like this:
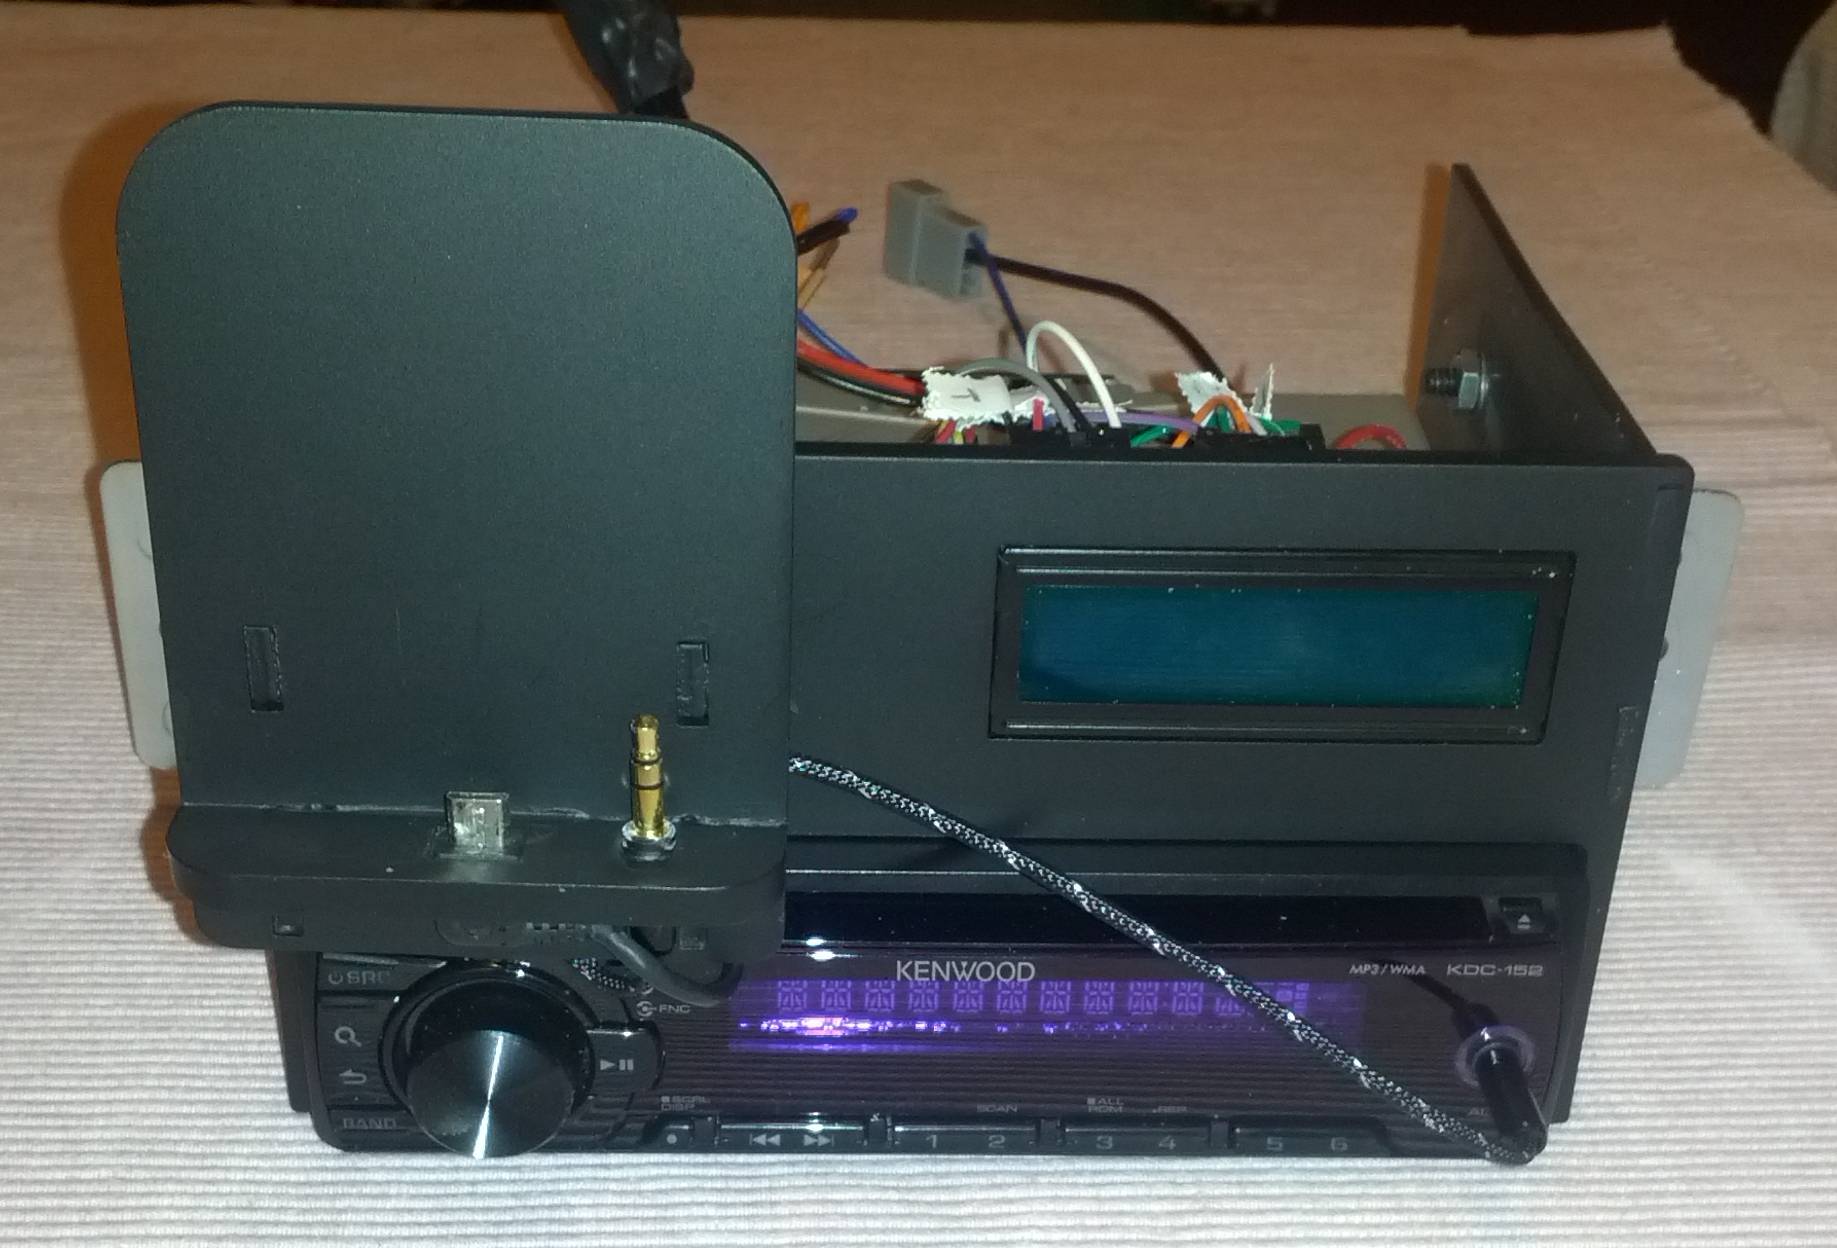
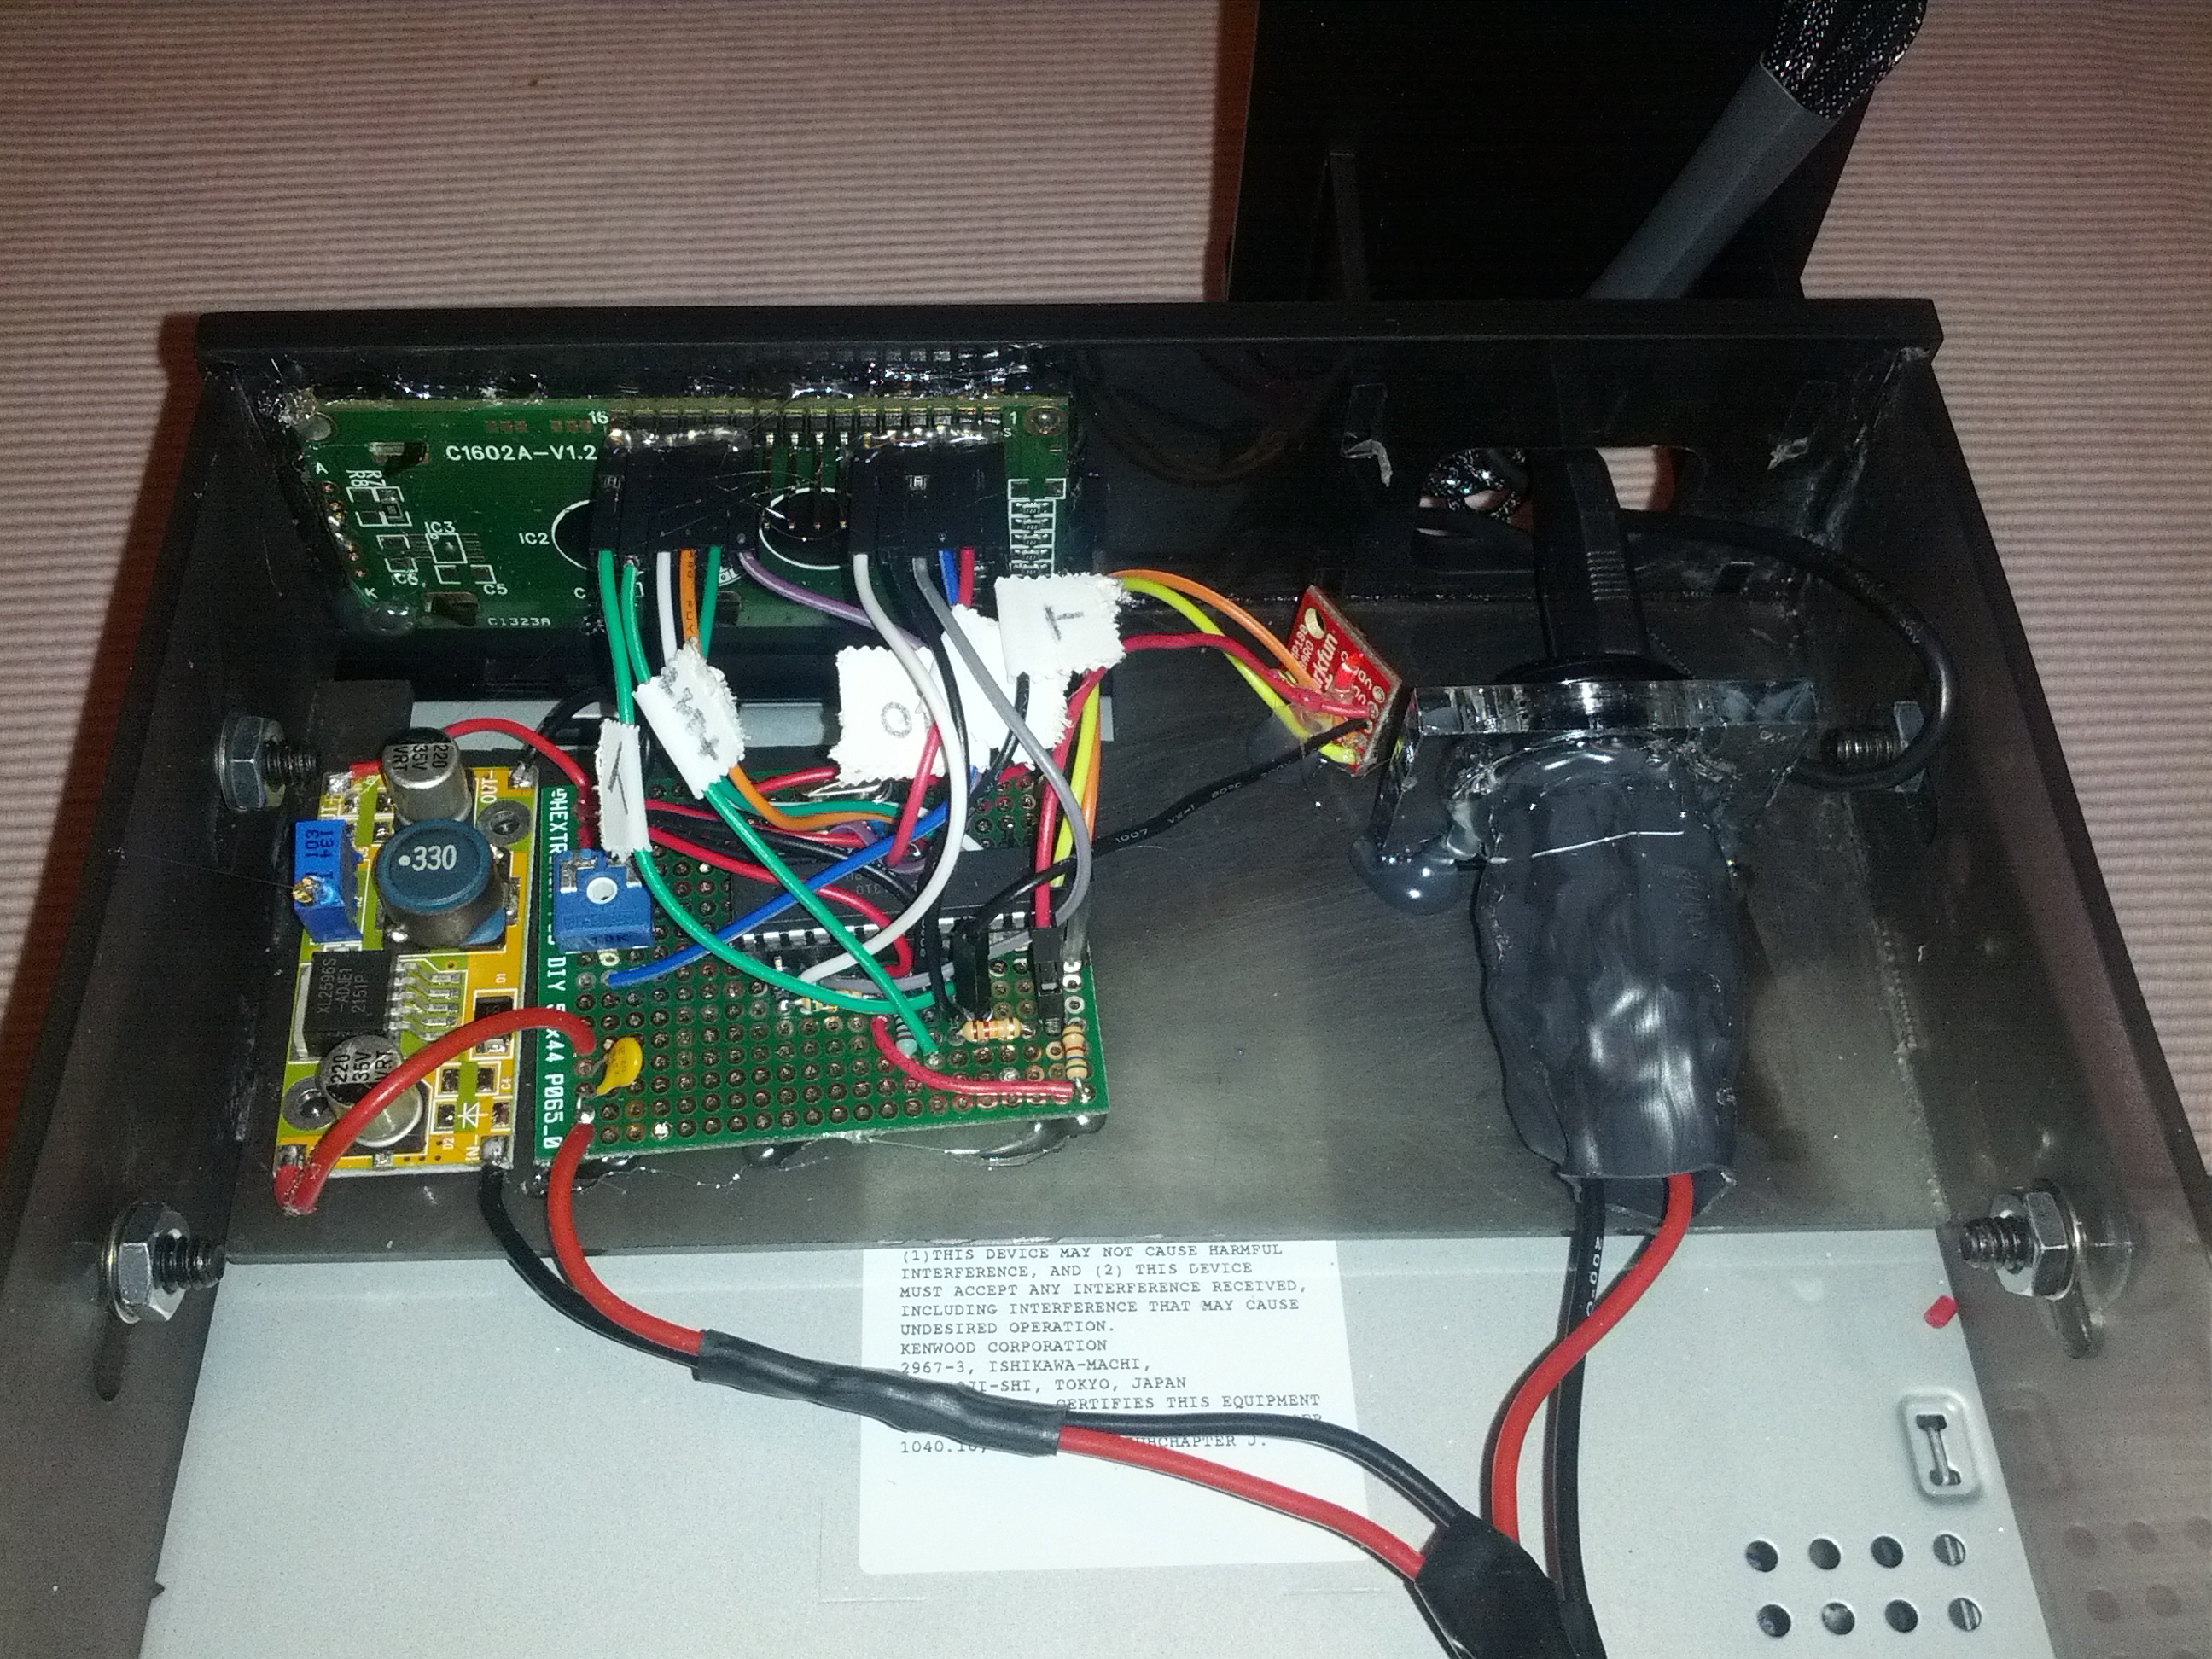
From left to right:
– Step down converter
– board with microcontroller and connections to sensors and display
– BMP 180 (red breakout board)
– USB plug
Download the code: Arduino Code Car Temperature.
It also contains comments on where to wire the sensors and the lcd. Overall the pin setup is super easy, as it only requires minimal additional components.
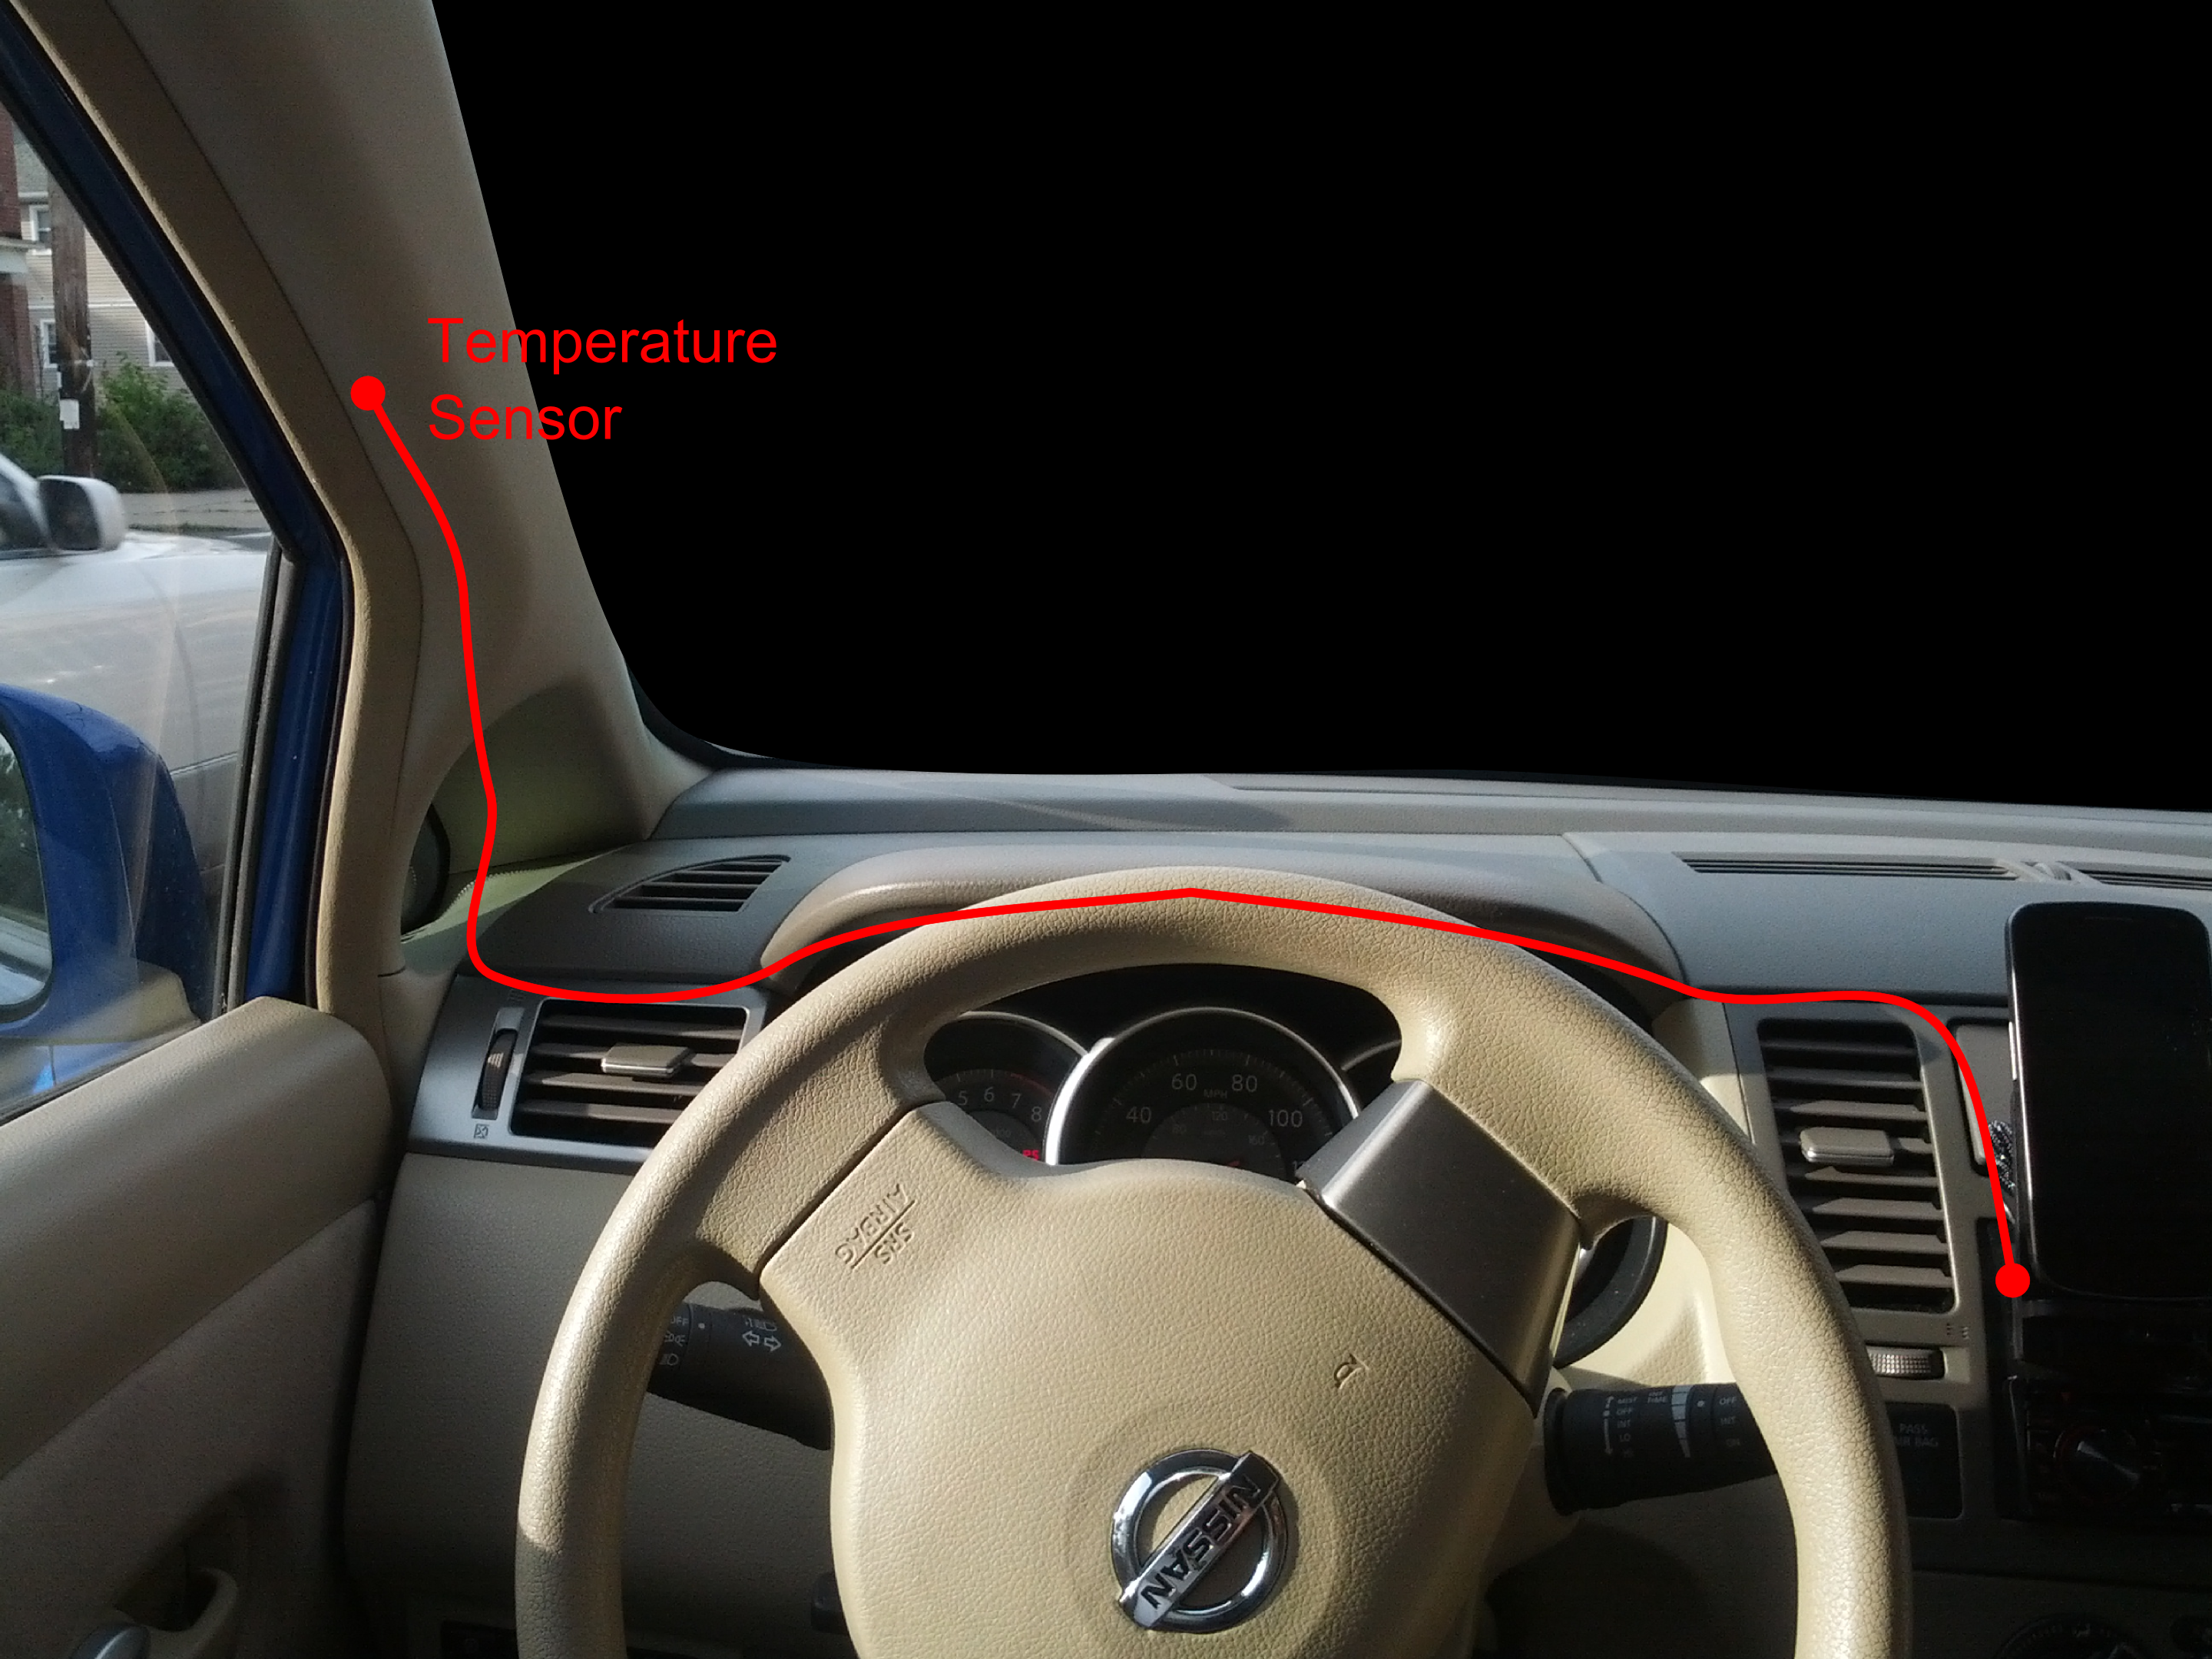
The outdoor sensor
Placing the outdoor probe was not that easy, in particular finding a spot where it would register the outdoor temperature, while not having to do crazy modifications on the car. I ended up putting it under the dashboard cover, moving towards the left. Removing the cover of the A-pillar, I found a hole in the chassis where I could put in the probe. It is not perfect, but there are no visible cables, which I like. I rough schematic where the sensor is:
Some final words
Both temperature sensors are problematic – they tend to display too high values. The outdoor sensor in the chassis gets a lot of heat from the sun, increasing the temperature, whereas the indoor sensor registers the heat from the radio and other parts in the dashboard.
The connection to the radio works well, having a good quality and the charging of the phone also works flawless.
A nice surprise was the altitude sensor, I am really impressed with the precision. It registers altitude changes of a few meters. You drive up a slope and can see the altitude rising meter by meter, really cool!
Ich entdecke neue Seiten an Dir….
Hi,
Can you share the schematic you’ve used for your project and the sketch ? I’m looking for doing almost the same thing (only temperature and altidude part).
Thanks.
Hi,
I updated the text and added the sketch. In the sketch there are also plenty of comments about the pin setup of the sensors, I think that should be sufficient.
Hi Tommi,
Thank you so much, I really want to build the exact same thing for my car.
>J'ai installer le jeu, j'ai appliqué les 3 patch et j'ai mis les crack du 3eme patch dans le dossier et le jeu marche très bien cependant il n’arrive pas a sauvegarder les donnée… merci d'avance pour les solution